


I was recently trying to create a form in my project using Next.js 14 and Server Actions by following this guide on the official website. It seemed pretty straightforward until I started implementing it.
My use case required me to also upload images on a storage service and then storing the uploaded image's url in my Postgres database. The entire form data would then be fetched from the database and get displayed on the main dashboard of my application.
I finally figured out how to achieve this using Cloudinary. Here the steps if you want to do something similar.
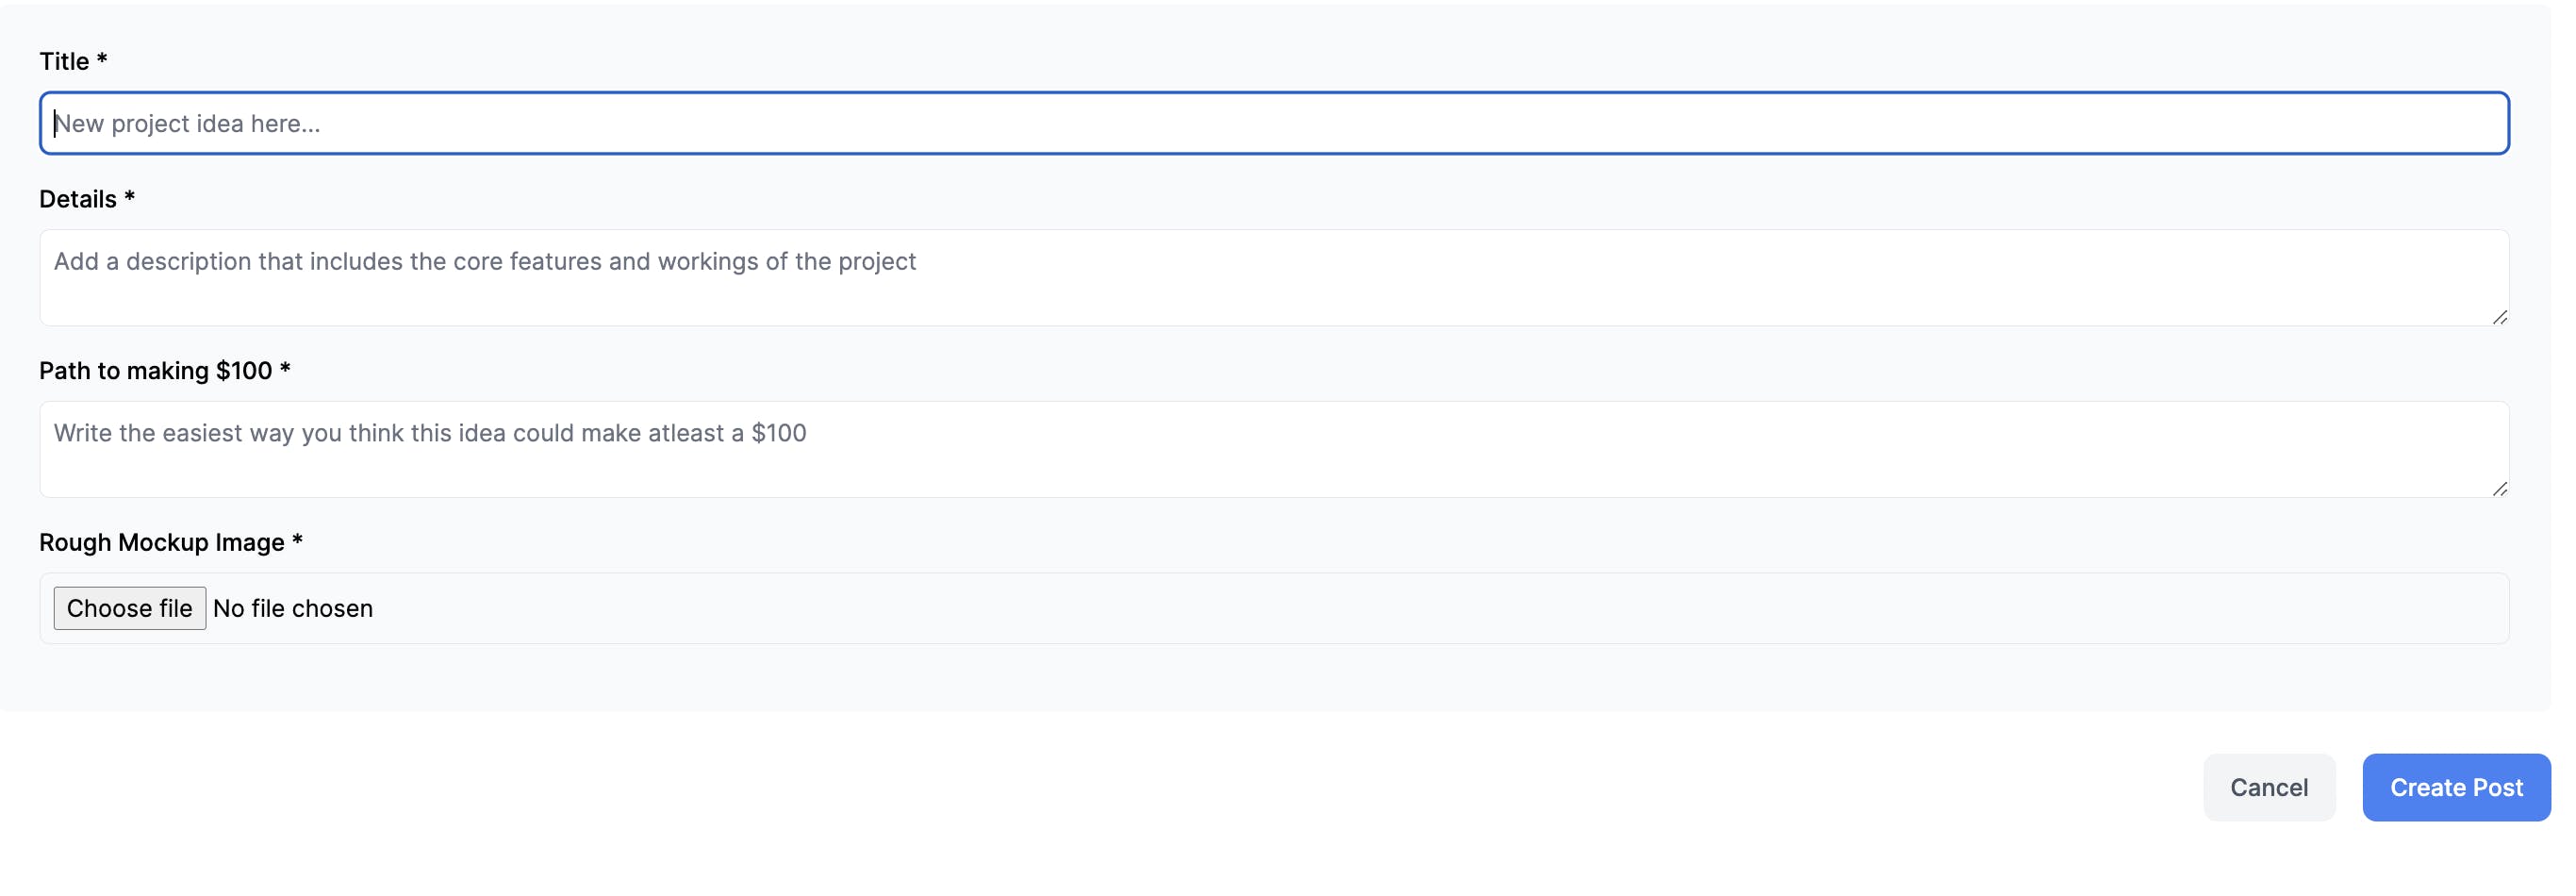
This is the form that we'll be creating today:
Prerequisites:
You have a Next.js app setup. I've set it up with Typescript and Tailwind CSS.
A local Postgres database and Prisma configurations
A Cloudinary account and Cloudinary configuration in your project
Okay, now that we've gotten this out of the way - let's take a look at what our Prisma schema looks like:
//schema.prisma

model Post {
  id            Int            @id @default(autoincrement())
  createdAt     DateTime       @default(now())
  title         String         @db.VarChar(255)
  description   String
  pathToMoney   String
  upvotes       Int            @default(0)
  mockupImages  String
}
We start by creating a new route app/new/page.tsx for our Form page:
import Form from "../ui/create-form";

export default function Page() {
  return (
    <main>
      <Form />
    </main>
  );
}
And also create the Form component:
//app/ui/create-form.tsx

"use client";

import Link from "next/link";
import { Button } from "./button";
import { createPost } from "../lib/actions";

export default function Form() {
  return (
    <form action={createPost}>
      <div className="rounded-md bg-gray-50 p-4 md:p-6">
        <div className="mb-4">
          <label htmlFor="title" className="mb-2 block text-sm font-medium">
            Title *
          </label>
          <input
            id="title"
            name="title"
            type="text"
            placeholder="New project idea here..."
            className="peer block w-full rounded-md border border-gray-200 py-2 pl-2 text-sm outline-2 placeholder:text-gray-500"
            required
          />
        </div>
        <div className="mb-4">
          <label
            htmlFor="description"
            className="mb-2 block text-sm font-medium"
          >
            Details *
          </label>
          <textarea
            id="description"
            name="description"
            placeholder="Add a description that includes the core features and workings of the project"
            className="peer block w-full rounded-md border border-gray-200 py-2 pl-2 text-sm outline-2 placeholder:text-gray-500"
            required
          />
        </div>
        <div className="mb-4">
          <label
            htmlFor="pathToMoney"
            className="mb-2 block text-sm font-medium"
          >
            Path to making $100 *
          </label>
          <textarea
            id="pathToMoney"
            name="pathToMoney"
            placeholder="Write the easiest way you think this idea could make atleast a $100"
            className="peer block w-full rounded-md border border-gray-200 py-2 pl-2 text-sm outline-2 placeholder:text-gray-500"
            required
          />
        </div>
        <div className="mb-4">
          <label
            htmlFor="mockupImages"
            className="mb-2 block text-sm font-medium"
          >
            Rough Mockup Image *
          </label>
          <input
            type="file"
            id="mockupImages"
            name="mockupImages"
            className="peer block w-full rounded-md border border-gray-200 py-2 pl-2 text-sm outline-2 placeholder:text-gray-500"
            required
          />
        </div>
      </div>
      <div className="mt-6 flex justify-end gap-4">
        <Link
          href="/"
          className="flex h-10 items-center rounded-lg bg-gray-100 px-4 text-sm font-medium text-gray-600 transition-colors hover:bg-gray-200"
        >
          Cancel
        </Link>
        <Button type="submit">Create Post</Button>
      </div>
    </form>
  );
}
Now, we can begin to create a Server Action that is going to be called when the form is submitted. We will extract the values of the formData here.
We also import Zod and define a schema that matches the shape of our form object. This schema will validate the formData before saving it to a database.
// app/lib/actions.ts

"use server";

import { z } from "zod";

const FormSchema = z.object({
  title: z.string(),
  description: z.string(),
  pathToMoney: z.string(),
  mockupImages: z.string(),
});

export async function createPost(formData: FormData) {

export async function createPost(formData: FormData) {
  const file = formData.get("mockupImages") as File;
  console.log(file);

  const url = await saveFile(file);

  const { title, description, pathToMoney, mockupImages } = FormSchema.parse({
    title: formData.get("title"),
    description: formData.get("description"),
    pathToMoney: formData.get("pathToMoney"),
    mockupImages: url,
  });
}
Now, we need to create the saveFile function that is being called above which takes in the image File as a parameter and returns the Cloudinary url of the image. This is how the saveFile function should look like:
// app/lib/actions.ts
// ...
import { v2 as cloudinary } from "cloudinary";

interface UploadResult {
  url: string;
}

async function saveFile(file: File) {
  const arrayBuffer = await file.arrayBuffer();
  const buffer = new Uint8Array(arrayBuffer);
  const result = await new Promise<UploadResult>((resolve, reject) => {
    cloudinary.uploader
      .upload_stream({}, function (error, result) {
        if (error || result === undefined) {
          reject(error || new Error("Upload result is undefined."));
          return;
        }
        resolve(result);
      })
      .end(buffer);
  });

  return result.url;
}
In the above code, we first get the buffer version of the file and store it in the buffer constant. Now, to actually make the upload to Cloudinary we use the Node.js SDK since we're in the server context. We can use the cloudinary.uploader.upload_stream() API to do this. Since, the upload_stream method above doesn't return a promise we don't have a way of being able to await that to perform any other operations - so we wrap it inside a new Promise.
Finally, we return result.url at the end of the function which returns the URL of the image that we just uploaded to Cloudinary.
Now that we have all the values we need for our database, we can create a Prisma query to insert the new post into our database and pass in the variables.
Since we're updating the data displayed in our home page, we also want to clear this cache and trigger a new request to the server. Finally, we want to redirect the user back to / (home page).
// app/lib/actions.ts
'use server';

// ...
import prisma from "../db";
import { revalidatePath } from "next/cache";
import { redirect } from "next/navigation";

// ...

export async function createPost(formData: FormData) {
    // ...

    await prisma.post.create({
        data: {
          title: title,
          description: description,
          pathToMoney: pathToMoney,
          mockupImages: mockupImages,
        },
      });

      revalidatePath("/");
      redirect("/");
}
Congratulations! You've just implemented your first Server Action that is able to upload images to Cloudinary. Test it out by adding a new post, if everything is working correctly:
You should be redirected to the
/route on submission.You should see your form entry in your database. Try exploring it on Prisma Studio.
You should be able to view the image you uploaded on your Cloudinary dashboard.
If you want to explore other new features of Next.js 14 App router, I recommend checking out this free interactive course on the Next.js website.